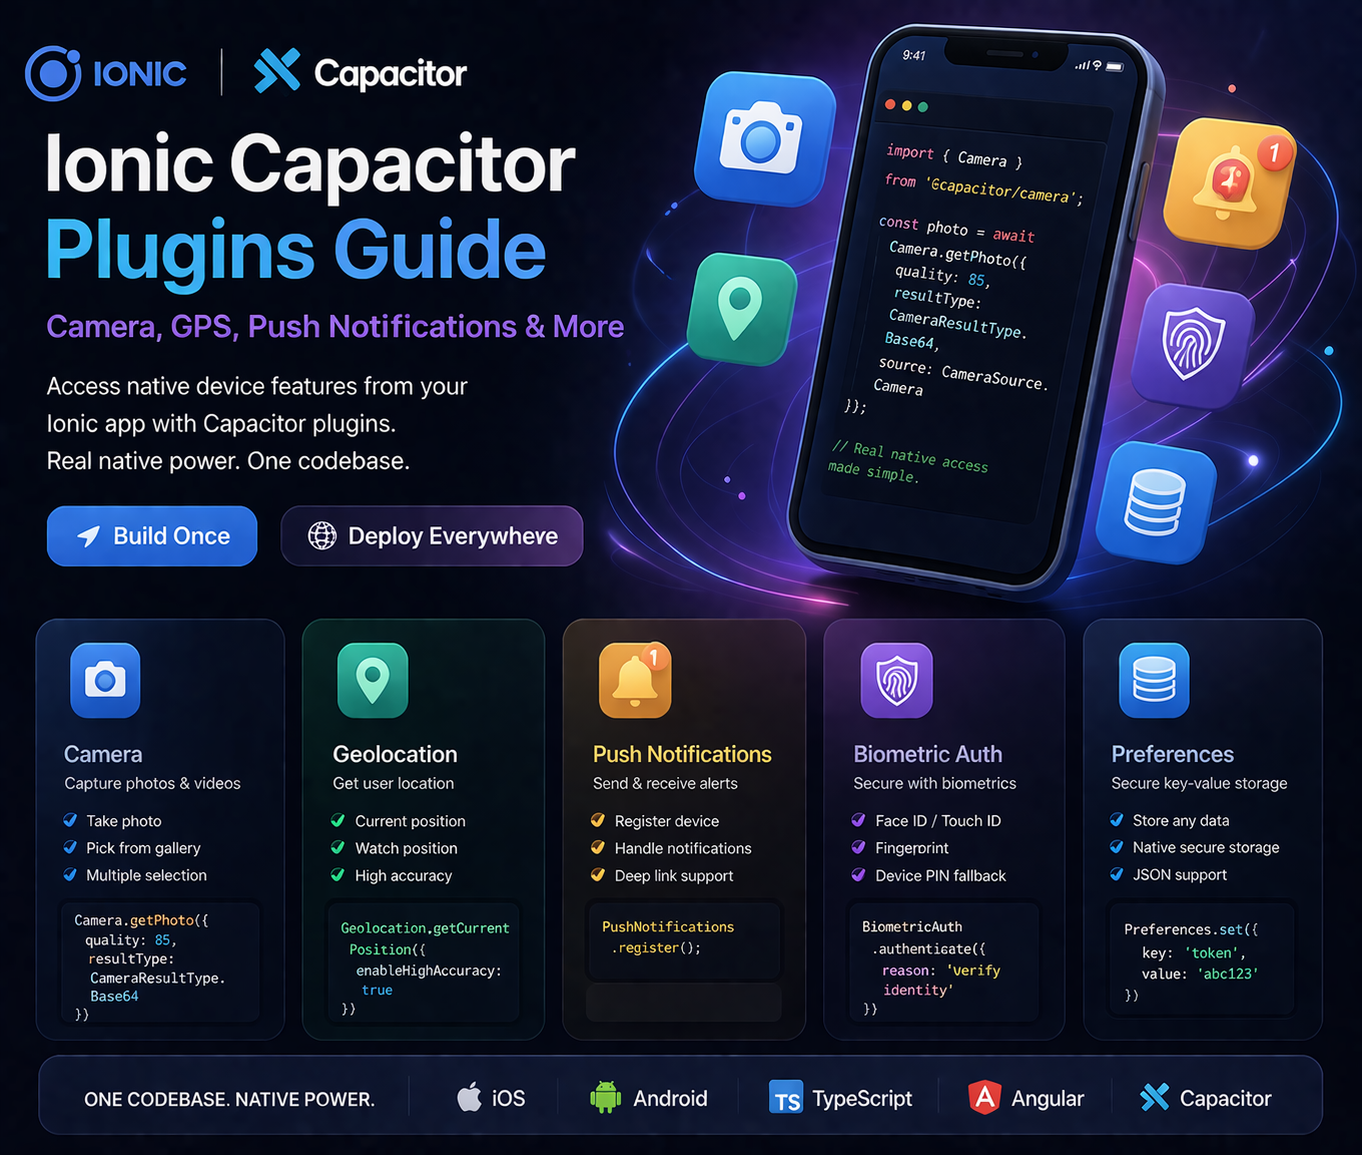
One of the most frequent questions from developers new to Ionic is: "Can my app actually access the device's camera, location, and push notifications?" Absolutely — through Capacitor's official plugin suite. Each plugin bridges your TypeScript code to the real native iOS and Android APIs, resulting in behaviour identical to a fully native app.
This guide covers the five plugins I use in almost every production app: Camera, Geolocation, Push Notifications, Biometric Authentication, and Preferences (secure storage). Each section has the install command, the required native configuration, and production-ready Angular code.
npx cap sync after installation to copy plugin code into the native iOS and Android projects. Running npm install alone is not enough — always follow with npx cap sync.
Plugin 1: @capacitor/camera
Required iOS Permission (Info.plist)
<!-- ios/App/App/Info.plist -->
<key>NSCameraUsageDescription</key>
<string>This app uses the camera to capture photos.</string>

<key>NSPhotoLibraryUsageDescription</key>
<string>This app accesses your photo library to select images.</string>

<key>NSPhotoLibraryAddUsageDescription</key>
<string>This app saves photos to your library.</string>
Production-Ready Camera Service (Angular)
import { Injectable } from '@angular/core';
import { Camera, CameraResultType, CameraSource, Photo } from '@capacitor/camera';

@Injectable({ providedIn: 'root' })
export class CameraService {

  // Take a new photo (returns base64 string)
  async takePhoto(): Promise<string | undefined> {
    const photo = await Camera.getPhoto({
      quality: 85,
      allowEditing: false,
      resultType: CameraResultType.Base64,
      source: CameraSource.Camera,
      correctOrientation: true, // Auto-fix portrait/landscape EXIF
    });
    return photo.base64String;
  }

  // Pick from photo library
  async pickFromGallery(): Promise<string | undefined> {
    const photo = await Camera.getPhoto({
      quality: 90,
      allowEditing: true,
      resultType: CameraResultType.DataUrl, // Returns data:image/jpeg;base64,...
      source: CameraSource.Photos,
    });
    return photo.dataUrl;
  }

  // Multiple photo selection (Capacitor 5+)
  async pickMultiple(): Promise<string[]> {
    const result = await Camera.pickImages({
      quality: 80,
      limit: 5,
    });
    return result.photos
      .filter(p => p.dataUrl)
      .map(p => p.dataUrl!);
  }
}CameraResultType.Uri to get a file:// URL. This URL is not accessible from the WebView context on Android for display in <img> tags. Use CameraResultType.DataUrl for immediate display, or CameraResultType.Base64 for server uploads.
Plugin 2: @capacitor/geolocation
Required Permissions
<!-- iOS: Info.plist -->
<key>NSLocationWhenInUseUsageDescription</key>
<string>Your location is used to show nearby services.</string>

<!-- Android: AndroidManifest.xml -->
<uses-permission android:name="android.permission.ACCESS_COARSE_LOCATION" />
<uses-permission android:name="android.permission.ACCESS_FINE_LOCATION" />
Location Service (Angular)
import { Injectable } from '@angular/core';
import { Geolocation, Position } from '@capacitor/geolocation';

@Injectable({ providedIn: 'root' })
export class LocationService {

  async getCurrentPosition(): Promise<{lat: number, lng: number}> {
    // Always request permission before getting location
    const permission = await Geolocation.requestPermissions();

    if (permission.location !== 'granted') {
      throw new Error('Location permission denied');
    }

    const position: Position = await Geolocation.getCurrentPosition({
      enableHighAccuracy: true,   // GPS-level accuracy (slower, more battery)
      timeout: 10000,             // Fail if no position in 10s
      maximumAge: 30000,          // Accept cached position up to 30s old
    });

    return {
      lat: position.coords.latitude,
      lng: position.coords.longitude,
    };
  }

  // Watch position — for real-time tracking (delivery apps, etc.)
  watchPosition(callback: (pos: {lat: number, lng: number}) => void): string {
    return Geolocation.watchPosition(
      { enableHighAccuracy: true },
      (position, err) => {
        if (err) { console.error(err); return; }
        if (position) {
          callback({
            lat: position.coords.latitude,
            lng: position.coords.longitude,
          });
        }
      }
    ) as unknown as string;
  }

  stopWatching(watchId: string) {
    Geolocation.clearWatch({ id: watchId });
  }
}enableHighAccuracy: true uses GPS — accurate to 5–10 metres but drains battery quickly. enableHighAccuracy: false uses cell towers / WiFi — accurate to 50–100 metres but very battery-friendly. Use high accuracy for turn-by-turn navigation; use low accuracy for "show me nearby" features.
Plugin 3: @capacitor/push-notifications
Push Notification Service
import { Injectable } from '@angular/core';
import {
  PushNotifications,
  PushNotificationSchema,
  ActionPerformed,
  Token
} from '@capacitor/push-notifications';
import { Router } from '@angular/router';

@Injectable({ providedIn: 'root' })
export class PushNotificationService {

  constructor(private router: Router) {}

  async initialize() {
    // 1. Request permission
    const result = await PushNotifications.requestPermissions();
    if (result.receive !== 'granted') {
      console.warn('Push notification permission denied');
      return;
    }

    // 2. Register with APNs (iOS) / FCM (Android)
    await PushNotifications.register();

    // 3. Get the device token (send to your backend)
    PushNotifications.addListener('registration', (token: Token) => {
      console.log('Push registration token:', token.value);
      // TODO: Send token.value to your Laravel API
      // this.api.post('device-token', { token: token.value }).subscribe();
    });

    // 4. Handle registration errors
    PushNotifications.addListener('registrationError', (error: any) => {
      console.error('Push registration error:', JSON.stringify(error));
    });

    // 5. Handle incoming notification while app is in foreground
    PushNotifications.addListener(
      'pushNotificationReceived',
      (notification: PushNotificationSchema) => {
        console.log('Foreground notification:', notification.title);
        // Optionally show an in-app toast or banner
      }
    );

    // 6. Handle tap on notification (app opened from notification)
    PushNotifications.addListener(
      'pushNotificationActionPerformed',
      (action: ActionPerformed) => {
        const data = action.notification.data;
        // Deep-link based on notification payload
        if (data?.route) {
          this.router.navigate([data.route]);
        }
      }
    );
  }
}google-services.json file placed in android/app/. Download it from Firebase Console → Your Project → Project Settings → Android app. iOS requires APNs certificates uploaded to Firebase or your push provider (OneSignal, etc.).
Plugin 4: @aparajita/capacitor-biometric-auth
import { Injectable } from '@angular/core';
import {
  BiometricAuth,
  CheckBiometryResult,
  BiometryType,
} from '@aparajita/capacitor-biometric-auth';

@Injectable({ providedIn: 'root' })
export class BiometricService {

  async isAvailable(): Promise<boolean> {
    const result: CheckBiometryResult = await BiometricAuth.checkBiometry();
    return result.isAvailable;
  }

  async authenticate(reason: string): Promise<boolean> {
    const available = await this.isAvailable();
    if (!available) return false;

    try {
      await BiometricAuth.authenticate({
        reason,                            // Shown in Face ID / fingerprint dialog
        cancelTitle: 'Cancel',
        allowDeviceCredential: true,       // Fallback to PIN if biometric fails
        iosFallbackTitle: 'Use Passcode',
      });
      return true;
    } catch (err) {
      return false;
    }
  }
}

// Usage in a component:
// const ok = await biometricService.authenticate('Confirm your identity to view account details');
// if (ok) { /* proceed */ }
iOS Info.plist
<key>NSFaceIDUsageDescription</key>
<string>Use Face ID to securely authenticate to your account.</string>
Plugin 5: @capacitor/preferences (Secure Storage)
import { Injectable } from '@angular/core';
import { Preferences } from '@capacitor/preferences';

@Injectable({ providedIn: 'root' })
export class StorageService {

  async set(key: string, value: any): Promise<void> {
    await Preferences.set({
      key,
      value: typeof value === 'string' ? value : JSON.stringify(value),
    });
  }

  async get<T = string>(key: string): Promise<T | null> {
    const result = await Preferences.get({ key });
    if (result.value === null) return null;

    try {
      return JSON.parse(result.value) as T;
    } catch {
      return result.value as unknown as T;
    }
  }

  async remove(key: string): Promise<void> {
    await Preferences.remove({ key });
  }

  async clear(): Promise<void> {
    await Preferences.clear();
  }
}localStorage is accessible from any JavaScript running on the page and is readable on rooted Android devices. @capacitor/preferences uses UserDefaults on iOS and SharedPreferences on Android — both sandboxed to your app. For highly sensitive data (like biometric-protected secrets), use the Capacitor Secure Storage plugin instead.
Plugin Installation Summary
# Install all five plugins at once
npm install @capacitor/camera @capacitor/geolocation @capacitor/push-notifications @aparajita/capacitor-biometric-auth @capacitor/preferences

# Sync to native projects (required after any plugin install)
npx cap sync

# Verify plugins are linked correctly
npx cap doctor
Testing Plugins — Important Notes
- Camera & Geolocation: Will not work in a browser — must test on a real device or simulator/emulator with Xcode/Android Studio
- Push Notifications: Must test on a real device — simulators cannot receive push notifications from APNs/FCM
- Biometrics: Can test Face ID on iOS Simulator (Features → Face ID → Enrolled), but fingerprint on Android Emulator requires extra setup
- Preferences: Works in browser for development (falls back to localStorage), but uses native storage on real devices
Need an Ionic App With Native Device Features?
Camera, GPS, push notifications, biometrics — I integrate all of these into production Ionic apps for iOS and Android. Free 30-minute consultation.
View Ionic Development Services →
Anju Batta
Senior Full Stack Developer with 15+ years building Ionic apps with native device integrations. Every plugin example in this guide comes from production code, not documentation samples. Based in Chandigarh, India.
Hire Me for Your Ionic App →